Customizing paper cups is a great way to promote your brand, event, or business. Here are some steps you can follow to customize paper cups:
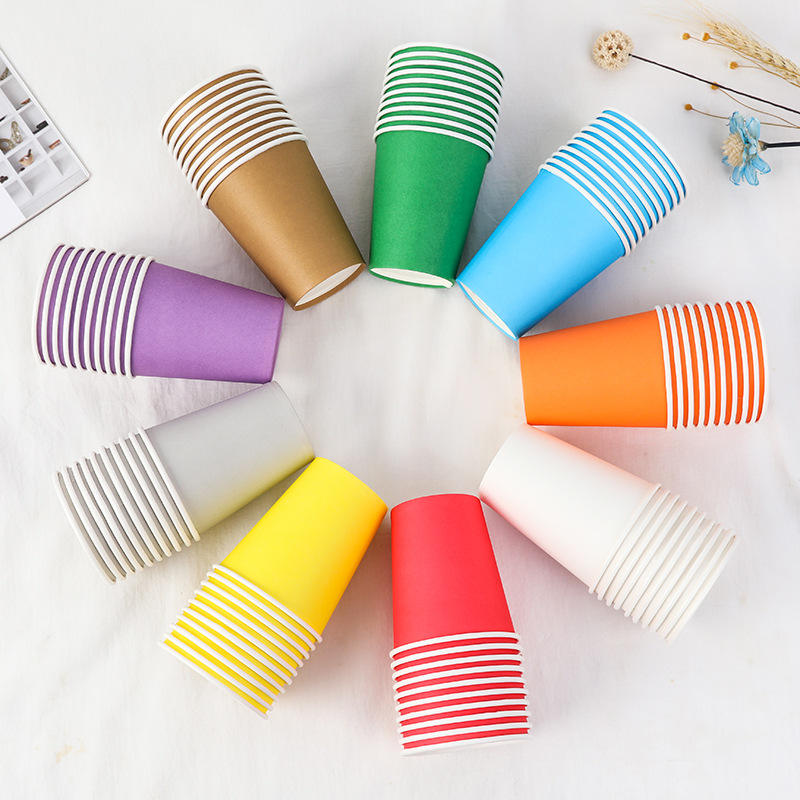
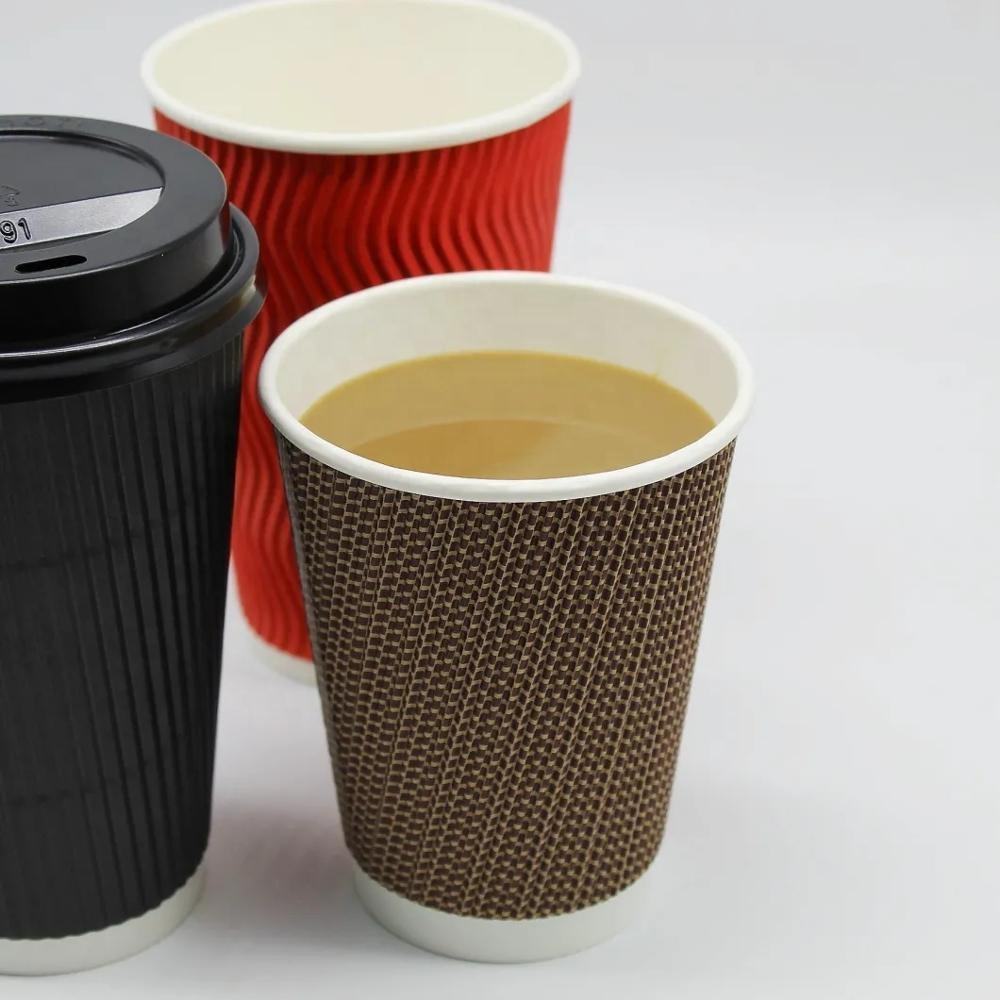
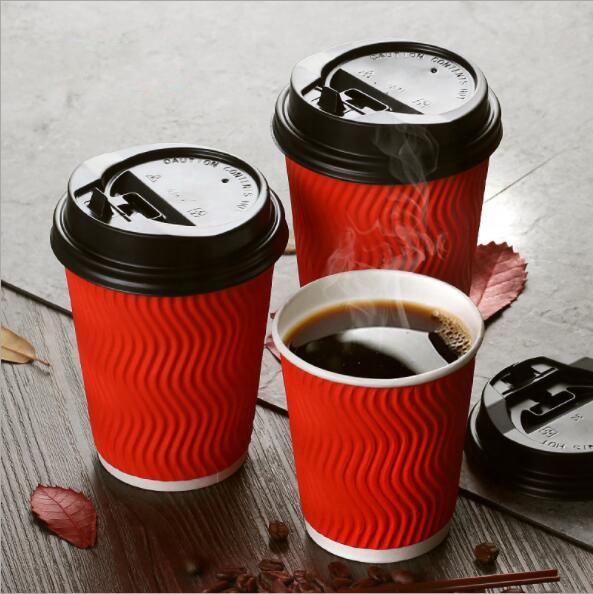
- Choose your cup size and style: There are various paper cup sizes and styles available, so choose the one that suits your needs. You may want to consider the type of drink you’ll be serving, the event or occasion, and the number of cups you’ll need.
- Design your artwork: Create or design the artwork you want to display on the cup. This could be a logo, image, or text. Make sure the design is high quality and in a format that the cup supplier can use.
- Find a supplier: Look for a reputable supplier that offers custom paper cups. They may have specific requirements for artwork or printing, so make sure to check with them before placing an order.
- Choose your printing method: There are different printing methods available for custom paper cups, including offset printing and digital printing. Each method has its own advantages and limitations, so consider which one will work best for your design and budget.
- Place your order: Once you’ve chosen your supplier and printing method, place your order. Make sure to provide all the necessary information, including the design and cup specifications.
- Review the proof: Before the cups are printed, the supplier will provide a proof for your review. Check the proof carefully to ensure that the design, colors, and other details are correct.
- Receive your custom cups: Once the cups are printed, they will be shipped to you. Make sure to check that the cups meet your expectations and are of good quality.
Customizing paper cups can be a fun and effective way to promote your brand or event. By following these steps, you can create custom paper cups that are both functional and visually appealing.


