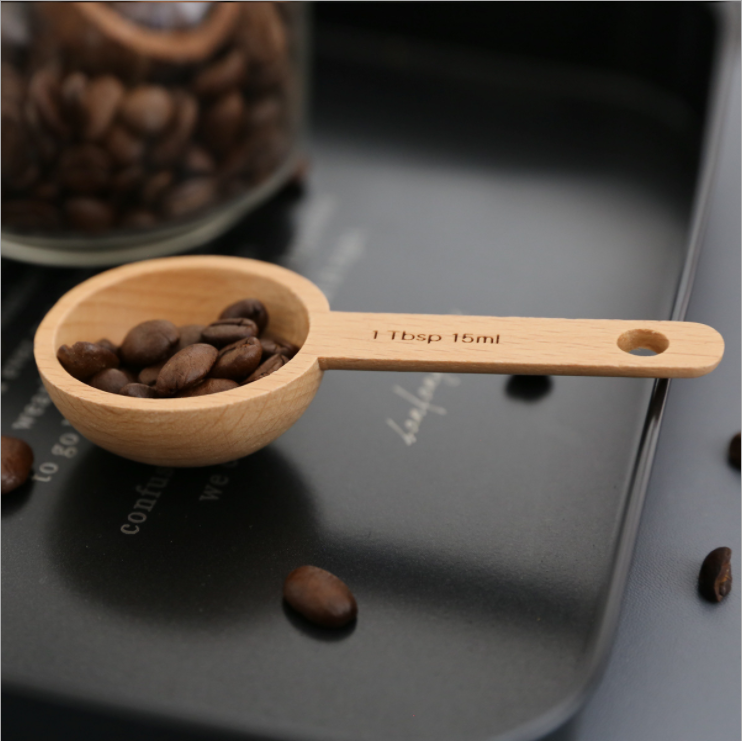
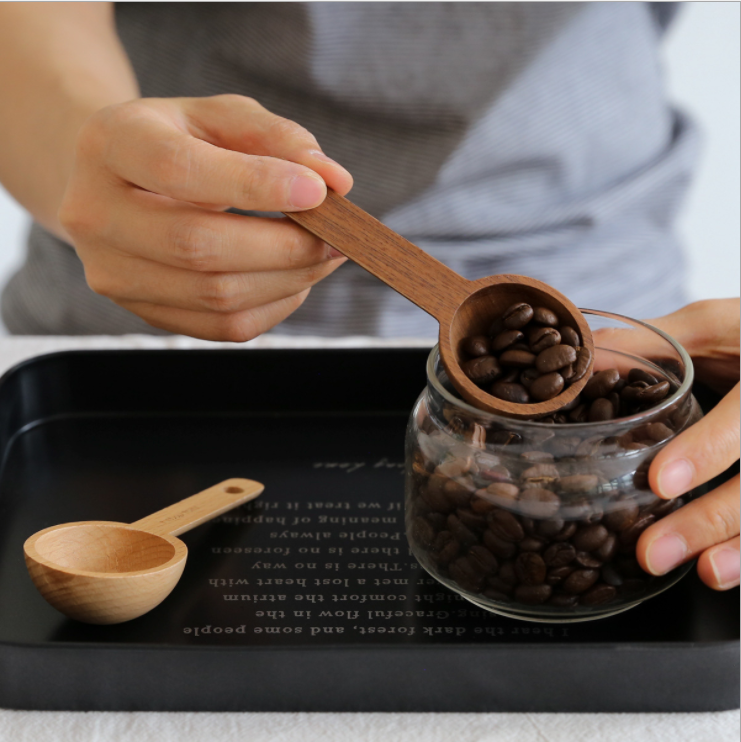
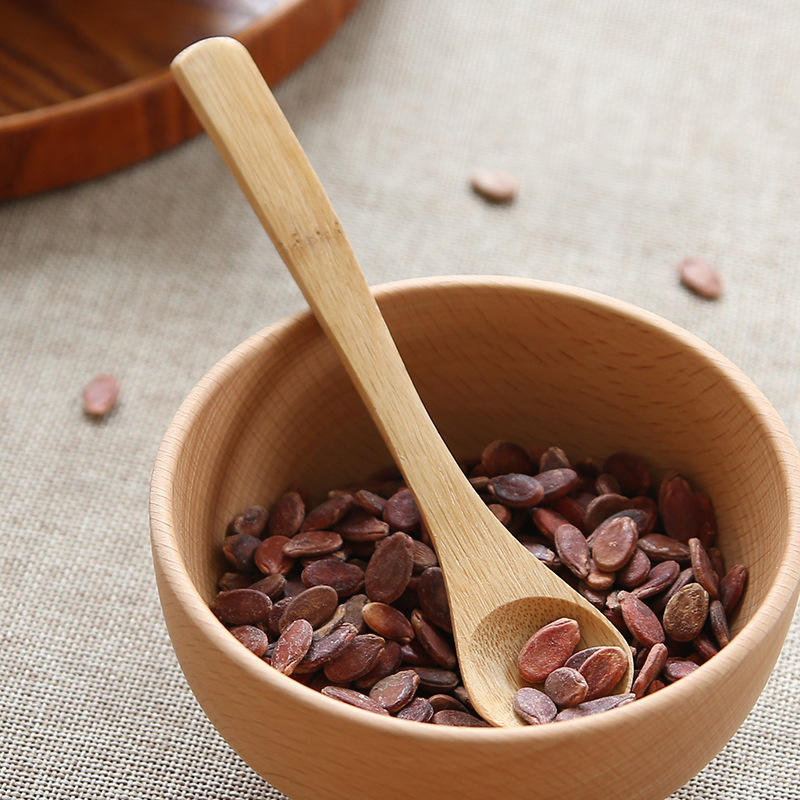
Customizing wooden spoons is a great way to add a personal touch to your kitchen utensils or to create a unique gift for someone special. Here are some steps on how to customize a wooden spoon:
- Choose a wooden spoon: Select a wooden spoon that you want to customize. You can purchase a plain wooden spoon from a kitchen supply store or use an old spoon you already have at home.
- Sand the spoon: Use sandpaper to smooth out any rough edges or bumps on the spoon. Sanding will also help the surface of the spoon better absorb any applied designs.
- Design your spoon: You can use a variety of materials to decorate your spoon. Some popular options include paint, wood burning tools, decoupage, or carving.
- If you choose to paint the spoon, make sure to use food-safe paint and seal the spoon with a food-safe sealer before use.
- If you choose to wood burn your design, practice on a scrap piece of wood first to get the feel for the tool and to sketch out your design on the spoon.
- If you choose to decoupage, select a design and cut it out to fit the spoon. Use decoupage glue to adhere the design to the spoon and seal it with a food-safe sealant after it’s dry.
- If you choose to carve, you’ll need to use a carving tool and a steady hand to make your design come to life.
- Allow the customization to dry or set: Depending on the customization method you choose, you may need to allow the design to dry or set before using the spoon.
Customizing a wooden spoon is a fun and creative way to personalize a kitchen tool. Remember to use only food-safe materials when designing your spoon and avoid applying designs to any areas of the spoon that will come in contact with food.


